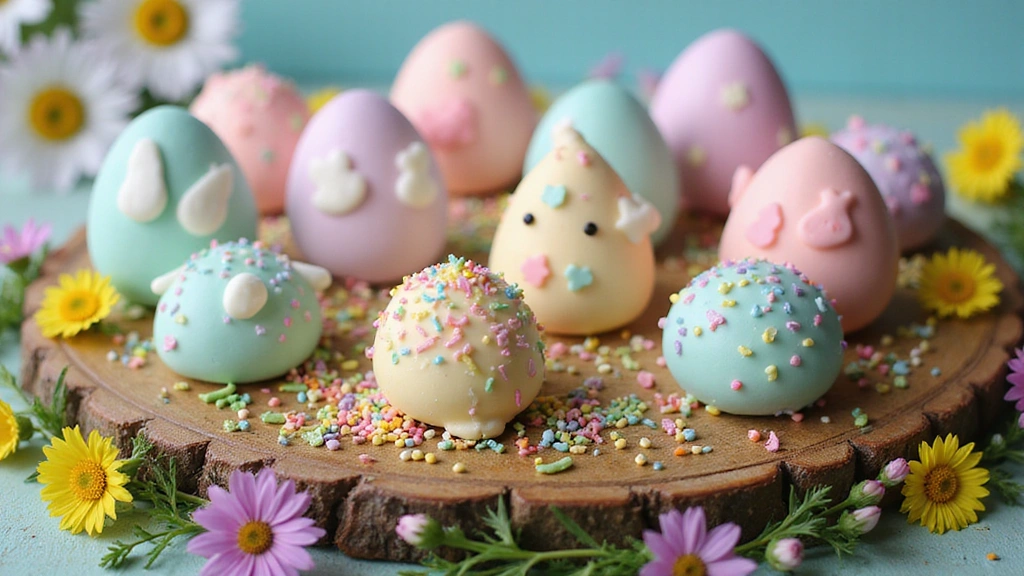
No-Bake Easter Cake Pops: Quick, Easy, and Delightfully Tasty
Introduction
No-bake Easter cake pops are the perfect sweet treat to celebrate the spring season! These delightful bites combine the flavors of cake and frosting, rolled into fun, bite-sized balls and coated in vibrant chocolate. They are not only easy to make but also a fantastic activity to enjoy with family and friends during the Easter festivities.
With their colorful decorations, these cake pops are sure to catch everyone’s eye and bring smiles to the faces of both kids and adults alike. Plus, they make for a lovely addition to any Easter basket!
Visual Appeal
- Brightly colored candy melts create an eye-catching finish.
- Sprinkles and edible decorations add a festive touch.
Perfect Pairing
- Serve with a glass of chilled milk or a fun fruit punch.
- Pair with other Easter-themed treats like cookies or cupcakes.
Occasions to Serve
- Easter celebrations and brunches.
- Spring parties and family gatherings.
- Children’s birthday parties.
Recipe Overview
- Servings: 20 cake pops
- Prep Time: 30 minutes
- Total Time: 30 minutes (no cooking required)
- Calories: Approximately 120 per cake pop
Nutritional Information
- Calories: 120
- Total Fat: 6g
- Saturated Fat: 3g
- Cholesterol: 15mg
- Sodium: 50mg
- Total Carbohydrates: 15g
- Dietary Fiber: 0g
- Sugars: 10g
- Protein: 1g
Cook and Prep Times
- Prep Time: 30 minutes
- Chill Time: 1 hour (optional, for setting)
Ingredients List
For the Cake Pops
- 1 box of cake mix (any flavor)
- 1 can of frosting (any flavor)
- 1 cup of candy melts (various colors)
- Sprinkles or edible decorations (for garnish)
- 20 lollipop sticks
Step-by-Step Instructions
- Prepare the Cake Base: In a large bowl, bake the cake mix according to package directions. Once baked, allow it to cool completely.
- Form the Cake Balls: Crumble the cooled cake into a mixing bowl. Add the frosting gradually and mix until combined. The mixture should be moist but not sticky.
- Shape the Pops: Roll the mixture into small balls, about 1 inch in diameter. Place them on a baking sheet lined with parchment paper.
- Chill for Firmness: Refrigerate the cake balls for at least 30 minutes or until firm. This step is optional but helps with the coating process.
- Melt the Chocolate: In a microwave-safe bowl, melt the candy melts according to the package instructions. Stir until smooth.
- Coat the Cake Pops: Dip one end of each lollipop stick into the melted chocolate, then insert it into the center of a cake ball. Dip the entire cake ball into the chocolate, allowing excess to drip off.
- Add Decorations: While the chocolate is still wet, sprinkle with your choice of decorations or sprinkles.
- Set the Pops: Place the finished cake pops upright in a piece of foam or a cake pop stand and let them set for about 30 minutes.
Tips for Perfect Cake Pops
- Consistency Matters: Make sure the cake mixture holds together well. If it’s too dry, add more frosting; if too wet, add more cake crumbs.
- Use Quality Chocolate: Good quality candy melts will give a smooth and professional finish to your cake pops.
- Experiment with Flavors: Try different cake and frosting combinations to create unique flavors.
Troubleshooting Common Issues
- Cake Pops Falling Off the Stick: Ensure the cake balls are cold before coating, and dip the stick in chocolate before inserting it.
- Chocolate Not Coating Smoothly: Make sure the candy melts are fully melted and smoothly mixed. Add a little vegetable oil if needed to thin it out.
- Cracking Chocolate Coating: This can happen if the cake pops are too cold. Let them sit at room temperature for a few minutes before coating.
Frequently Asked Questions
- Can I use store-bought cake? Yes, any store-bought or leftover cake can work perfectly for this recipe.
- How long can I store cake pops? They can be stored in an airtight container at room temperature for up to a week.
- Can I freeze cake pops? Yes, cake pops can be frozen for up to 3 months. Just make sure they’re wrapped well to prevent freezer burn.
- What other coatings can I use? You can use chocolate ganache, white chocolate, or even yogurt coating for a different taste.
- Are cake pops gluten-free? Yes, if you use a gluten-free cake mix and frosting, your cake pops can be gluten-free.
Conclusion
No-bake Easter cake pops are a fun and festive treat that everyone will love! They require minimal effort and can be customized in countless ways. Whether you are celebrating Easter or just looking for a sweet project to undertake with friends or family, these cake pops are sure to impress. So gather your ingredients, unleash your creativity, and enjoy the delightful experience of making these tasty treats!
